最终效果图

图00
第一步
新建一个1400*700像素的背景层,使用渐变工具在该背景层上拉一个从上至下的浅蓝色渐变:
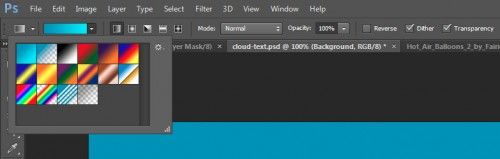
图01
渐变层的颜色需求分别是(#0895bc和#0aebff),如下图所示:
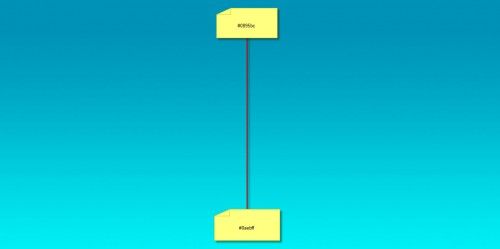
图02
新建一个图层,用以上提供的白云笔刷在该图层上天马行空一下,涂抹出天空效果,将它作为我们的背景:

图03
第二步
在画布上输入喜欢的文字吧,这里小编使用的是Photoshop自带的字体(Lucida Handwriting):

图04
载入烟雾笔刷,并选择如下一组:

图05
按“F5”打开画笔选项,使用如下设置:
形状动态:
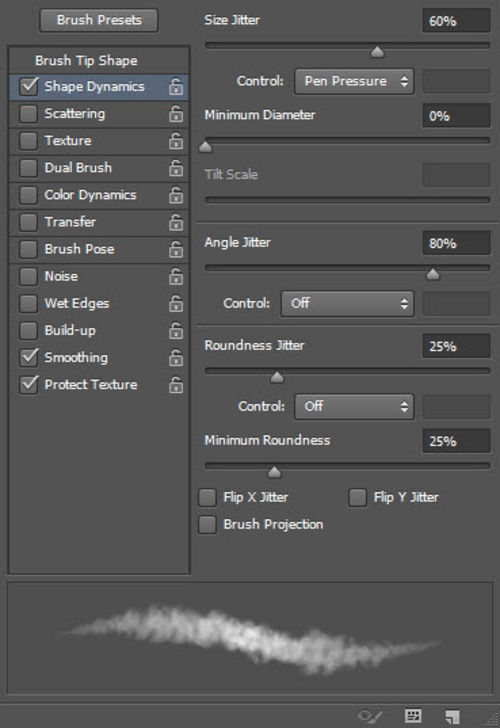
图06
一定要勾选“平滑”和“保护纹理”哦,才能确保文字的质感。
使用该笔刷在字体边缘涂抹(如下图所示),适时调整笔刷大小(使用“[”和“]”放大和缩小):

图07

图08
隐藏原始文字图层,怎么样?白云文字是不是有点显现出来了呢?

图09
为该涂抹后的文字图层添加图层样式——斜面与浮雕,如下图所示:
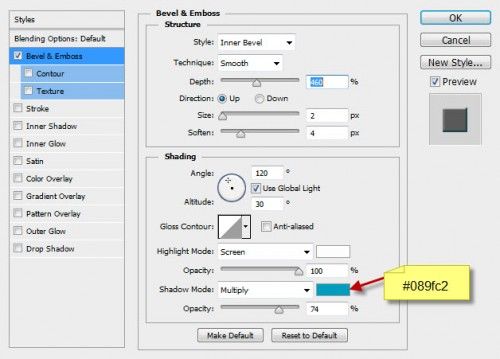
图10
很好!目前为止我们的文字效果是这样的:

图11
别着急,还差一步就完成啦!
第三步
这最后一步我们需要对文字效果做一些润饰。合并图层并添加滤镜——锐化——USM锐化,设置如下:
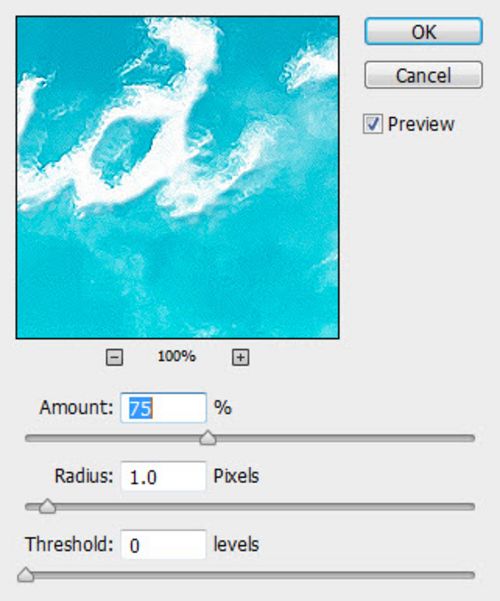
图12
我们也可以在文字下方添加一些云朵,让文字有一种漂浮在云朵上的感觉:

图13
图14
载入热气球素材,在图像中添加一些热气球:

图15
最后,使用第二步中的笔刷在文字四周再添加一些白云使其更有质感:

图16
最终效果图

图17
好了,我们的白云文字特效完成了!是不是很简单呢?本教程至此也告一段落了,希望你能从中受益,熟练掌握画笔工具的基本技巧。